| Administrator Handbook | Table of contents |
|
Managing MAP background image |
|
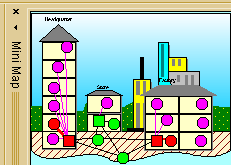
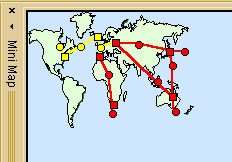
The Internetwork Map does not need to be configured. If the discover process has well performed, networks, links and routers are all discovered and you should have a connected view. Initially, the view is not well organized, you should move all the objects and dispose them in a more comprehensible view. You could decide to keep an empty background and thus, to only have your icons on the screen or add a background image for enhancing the view.The choice of the background image is dependant of the geographic spread of your network.Here after, two examples of Internetwork Map, a WorldWide Network and a campus.
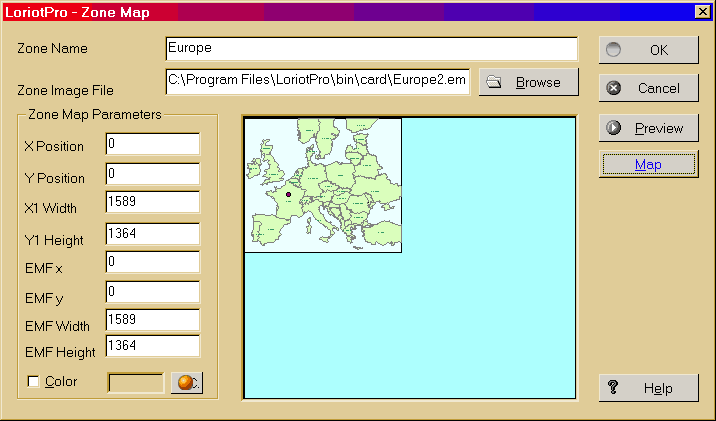
To understand how LoriotPro manage the MAP we should first define the Zone concept. The Zone is a rectangular surface of the Internetwork Map windows. Zones have a name which allows search and easy location. Zone could include image in the emf file format. Zone should be positioned in the main window and image in their zone. The terminology use to set the image size and position is define below.
The X and Y Position define the position of the upper left corner of the Zone Rectangle (Yellow) in the Internetwork Map Window. The X width and Y Height define the size of the Zone Rectangle.The size of the background image is set with two values, EMF Width and EMF Height. You have to choose the image size cautiously at the beginning. If you want to see on your screen the full view of your network select a size at least smaller than your screen definition. All values are specified in pixels. If for example your screen définition is 1024x768 pixel you can specify value like 1000x700. This choice is good if you have few networks and routers in your architecture. But if you have to display hundreds of them, you better choose a biger size and use the minimap for the full view. When you increase the original image size, be careful to keep the initial proportion between EMF x and EMF if you don't want to distort the view. To add an image in the background select the Zone Map Properties option of the Internetwork Map Menu
You access the following screen
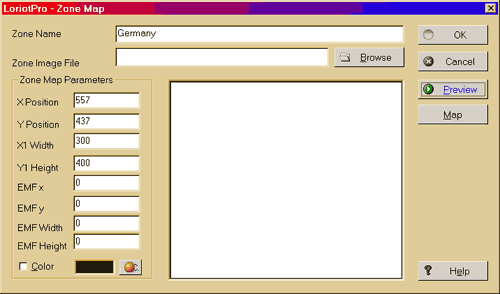
From there, you could create a new Zone and add the background image. Press the New button. You open the dialog box below. Choose the Map and set the positon and size values.
With the Map button you could figure out how big is your zone and image. In this example the size of the image is bigger than the screen definition. We will not be able to see the full picture on the screen. The max size of the Internetwork Map is 2000x2000 pixels. The zone is define with the same size as the image. The zone called Europe include all europeen countries.
The Background image is set, we could define other sub zone for ulterior search purposes. To add a zone, open the internetwork MAP and put the mouse pointer exactly in the virtual upper left corner and roght click. A contextual menu is opened, choose the New Zone Map option.
The X Position and Y Position are already set, you should specify the X Width and Y height and a name. Don't specify image and color.
When it's done a small text appears on the Map in the upper left corner of the zone. We volontary shows the Zone surface in our example.
The zone is not visible, but could be used with the Map Tool Bar. The map tool bar allows you to find a zone on the map and displays it immediatly on the upper left corner of the Internetwork Map Window.
MiniMap The MiniMap stands for Miniature Map. This
is a small view of the Internetwork Map. The MiniMap is very useful, if
you don't want to let the Internetwork Map opened but, nonetheless, keep
and eyes on your devices status or if you use a large Internetwork Map
that do not fit on your screen. |
|
|